
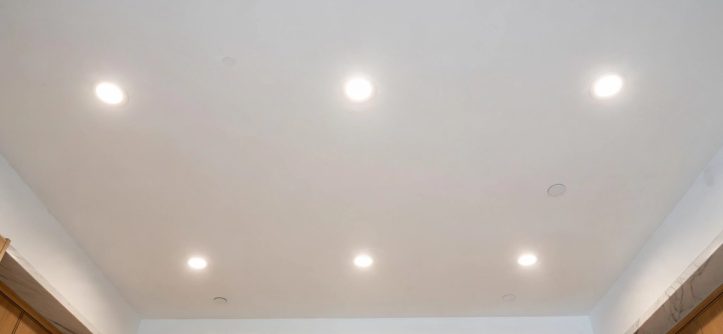
Plan your recessed kitchen lighting layout by dividing ceiling height by two for spacing. Position fixtures over countertop edges and islands, then pair them with dimmers and layered fixtures.
Most homeowners add recessed lights first and consider placement later. That order often creates dark prep zones and harsh glare. Instead, sketch your zones before you drill a single hole.
This guide walks through spacing rules, beam angles, and dimmer choices step by step. You will also learn how to avoid shadows and meet electrical code requirements. Follow each step to build a layout that works for cooking, cleaning, and gathering.
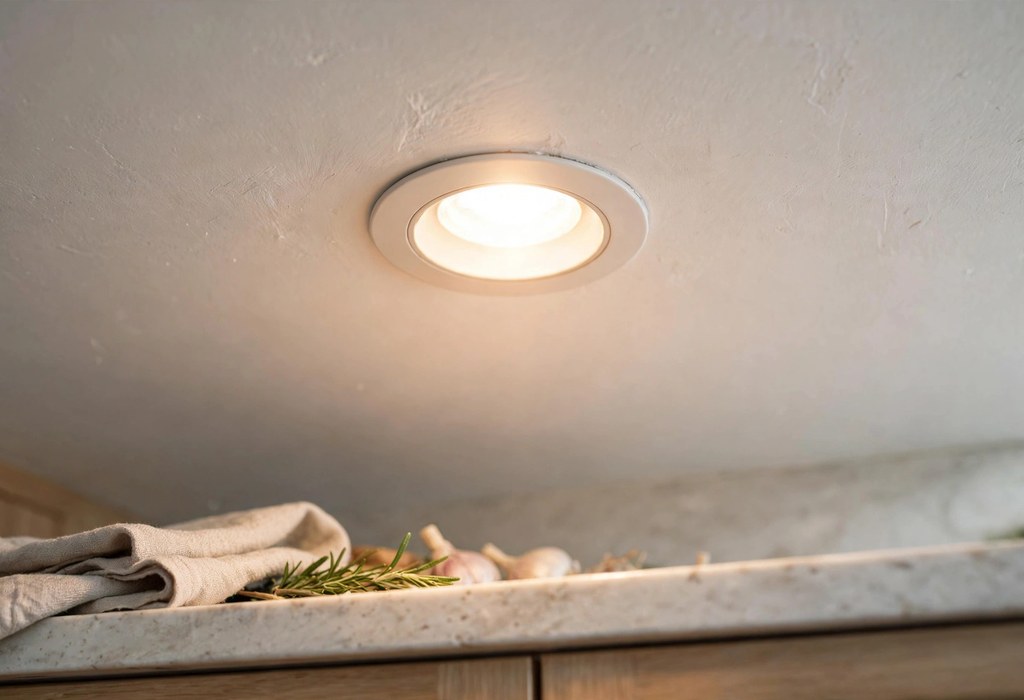
Start with Ceiling Height and Spacing Rules
Designers trust one rule most: divide ceiling height by two for spacing. An 8-foot ceiling therefore needs fixtures about 4 feet apart. Taller 10-foot ceilings stretch that spacing to about 5 feet.
- 8-foot ceilings: keep fixtures roughly 4 feet apart on center.
- 9-foot ceilings: widen spacing to about 4.5 feet.
- 10-foot ceilings: use about 5 feet between fixtures.
- 12-foot ceilings: allow 6 feet, but choose higher-lumen fixtures.
Keep the outer row 2 to 3 feet from walls for a clean wash. Busy prep areas often need tighter 3-to-4-foot spacing instead. For a broader overview of fixture options, read our kitchen light fixtures guide before finalizing counts.
Match Beam Angle to Your Spacing
Beam angle controls how wide each fixture throws its light. Narrow beams need tighter spacing, while wide beams allow wider gaps. Match the angle to the job instead of copying another home.
- 24-degree spot: covers task areas with a tight pool of light.
- 36-degree narrow flood: suits general kitchen use and counters.
- 60-degree flood: fills open areas with soft ambient light.
Check beam angle before you calculate how many fixtures to buy. A 24-degree spot on a 4-foot grid leaves dark gaps between pools. Therefore, tighten spacing or choose a wider angle for even coverage.
Place Fixtures Over Work Zones, Not Walkways
The biggest kitchen mistake centers fixtures in the walkway behind you. Your body then blocks the light and throws shadows onto the counter. Rather, align fixtures with the front edge of each countertop.
- Perimeter counters: set fixtures 12 to 18 inches from the cabinet face.
- Sink zone: center one fixture above the basin for clean task light.
- Range zone: keep light forward of the cooktop and follow hood clearances.
- Kitchen island: space a row evenly, or leave room for pendant lights.
Upper cabinets block light, so measure from the cabinet face outward. Under cabinet kitchen lighting handles the lowest task layer and reduces ceiling fixture counts. Adjustable gimbal trims also let you aim beams precisely at prep zones.
Plan Dimmer Zones Before You Buy
Not every LED fixture dims, and not every dimmer suits LEDs. Unfortunately, a mismatch causes flicker, buzzing, or a dead zone at low settings. Choose LED-rated dimmers and confirm compatibility with your chosen fixtures.
Put task areas and the island on separate dimmer switches. Separate zones let you cook bright and dine soft without compromise. Hiring a licensed electrician keeps multi-zone dimming safe and code compliant.
Smart dimmers add app control, scheduling, and voice commands to each zone. They still need LED-rated drivers, so verify compatibility before purchase. Test dimming at the lowest setting before the electrician leaves.
Set Color Temperature, CRI, and Lumens
Color temperature shapes the kitchen mood, so keep one Kelvin value per sightline. Kitchens usually look best between 3000K and 4000K. High CRI values of 90 or more render food colors accurately.
General guidance calls for 30 to 40 lumens per square foot. Multiply your square footage by that range to estimate total lumens. Then divide the total by each fixture’s lumen output to count fixtures.
Meet IC-Rated and Damp-Rated Code Rules
Insulated ceilings require IC-rated housings that touch insulation safely. Non-IC fixtures near insulation can overheat and violate electrical code. Look into attic access before selecting cans or canless wafer fixtures.
Canless fixtures simplify remodels because each unit includes its own junction box. Areas above sinks or open showers need damp-rated fixtures for moisture safety. Always consult a licensed electrician before cutting into hardwired circuits.
New-construction housings mount to joists before drywall goes up. Remodel housings clip through a cut hole when the ceiling already exists. Both styles need accessible junction boxes for safe future maintenance.
Layer Recessed Lights with Other Fixture Types
Recessed lights work best as one layer inside a fuller plan. Pendant lights over the island add focus and free the ceiling from clutter. Our layered kitchen lighting approach shows how ambient, task, and accent light combine.
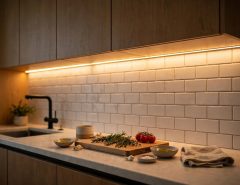
Concealed LED strips, puck lights, and light bars erase counter shadows completely. These low layers also let you space ceiling fixtures slightly wider apart. Pick plug-in models for easy retrofits or hardwired models for hidden wiring.
Low-clearance spots like pantries may suit a flush mount instead. Meanwhile, a semi-flush mount drops slightly lower and spreads light broadly. Use recessed lighting for ambient and task roles, then accent details separately.
Avoid Common Recessed Layout Mistakes
- Ignoring cabinets: measuring from the wall places beams behind the counter edge.
- Overlighting the island: too many cans there create clutter and glare.
- Skipping dimmers: full-bright recessed lights feel harsh after dinner.
- Mixing color temperatures: two Kelvin values in one sightline look uneven.
- Crowding the ceiling: more fixtures do not fix poor placement.
Walk your layout on a scaled sketch before committing to any holes. Mark joists, cabinets, and plumbing so fixtures land where you intend. Such a check prevents most expensive ceiling repairs later.
Frequently Asked Questions
How Far Apart Should Recessed Lights Be in a Kitchen?
Divide ceiling height by two for spacing, then tighten to 3 feet over counters.
How Far from the Wall Should Kitchen Recessed Lights Sit?
Set fixtures 2 to 3 feet from walls, or 12 to 18 inches from cabinet faces.
Do Recessed Kitchen Lights Need to Be IC-Rated?
Select IC-rated housings whenever insulation touches the fixture, and confirm with a licensed electrician.
Can You Dim Recessed LED Kitchen Lights?
Yes, when you pair dimmable LED fixtures with an LED-rated dimmer switch.
Should I Use Recessed Lights or Pendants Over a Kitchen Island?
Pendants add style and focus over the island, while nearby recessed lights give even task coverage.
Finalize Your Recessed Kitchen Lighting Plan
Careful planning turns a dim kitchen into a precise, shadow-free workspace. Measure first, match beam angles to spacing, and wire zones on separate dimmers. Start sketching your ceiling plan today and enjoy shadow-free cooking tomorrow.


Leave a Reply