
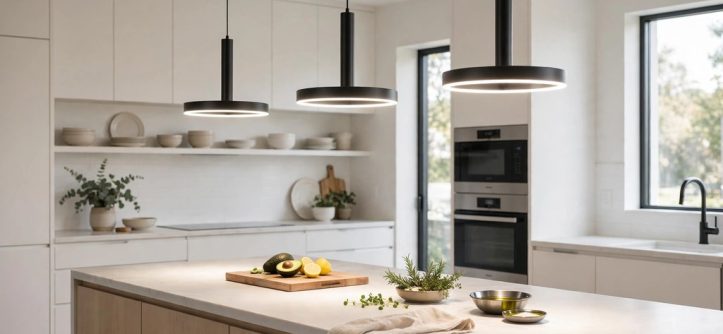
Begin with efficacy, not style, when choosing efficient fixtures. Seek LEDs rated at 90 lumens per watt or more. Afterward, match fixture type, color temperature, and controls to each kitchen zone.
Kitchens consume a large share of household lighting energy. Hence, fixture selection has a real impact on monthly bills. Here you learn exactly how LED technology, lumens per watt, and dimming features work together. It also shows how to verify certification claims and compare operating costs. With clear criteria, you can cut lighting energy without sacrificing brightness or style.
Start with Lumens Per Watt
Lumens measure brightness, while watts measure energy use. Simply put, lumens per watt reveals true efficiency. To illustrate, an 800-lumen LED at 9 watts delivers 89 lumens per watt. Older technologies, by contrast, deliver far fewer lumens for the same wattage.
Check the packaging or specification sheet before buying any fixture. Divide lumens by watts to compare models directly. Generally, aim for 90 lumens per watt or higher in kitchens. However, higher efficacy alone does not guarantee even light.
Why Fixture Efficiency Differs from Bulb Efficacy
Optics affect delivered lumens more than most buyers expect. Frosted diffusers absorb some light, while reflectors redirect it. Consider recessed lighting: it loses lumens inside the housing before light reaches counters. Thus, compare delivered lumens, not just the bare LED rating.
Choose the Right LED Technology
Modern LEDs convert electricity into light far more efficiently than halogens. Moreover, quality LEDs maintain output for 25,000 to 50,000 hours. That lifespan cuts replacement costs and maintenance hassles. Browse our kitchen light fixtures guide for every fixture style in detail.
Integrated LEDs vs Replaceable Modules
Integrated LED fixtures build the light source into the design. Because of this, they often achieve higher efficacy and slimmer profiles. Replaceable modules, however, simplify future repairs. Weigh longevity against serviceability for each installation spot.
Match Fixture Type to Kitchen Zones
Each zone demands different light levels and beam angles. For that reason, mixing fixture types improves both efficiency and comfort. Task areas like counters need focused, high-lumen output. At the same time, dining corners benefit from softer ambient glow.
- Pendant lights: hang them over a kitchen island for focused task lighting.
- Recessed lighting: install IC-rated housings for insulated ceilings and general coverage.
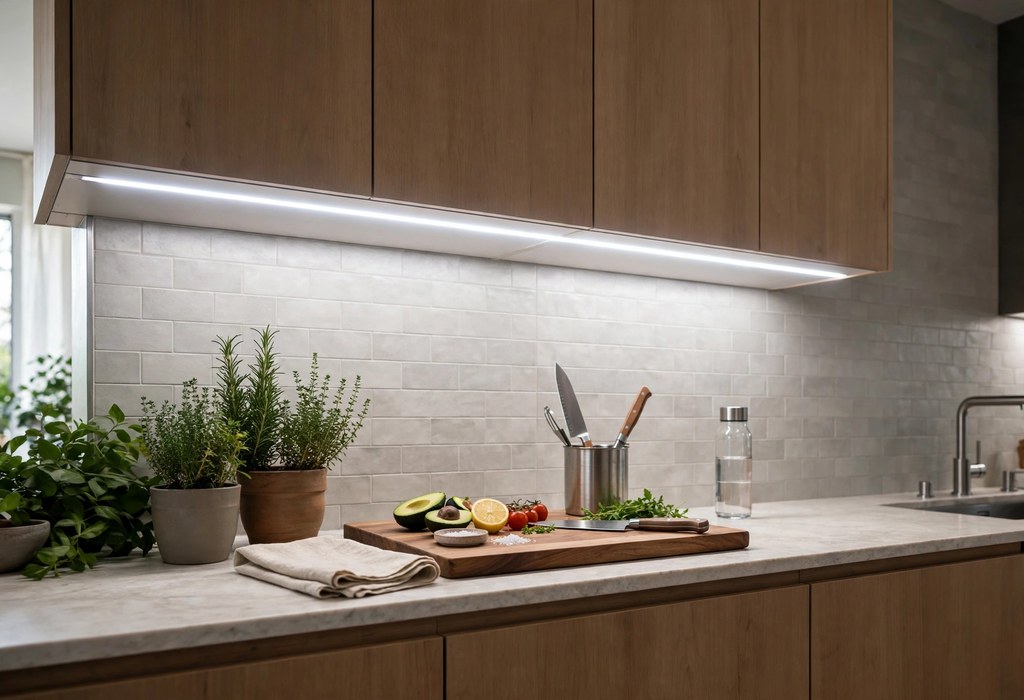
- Under cabinet lighting: add LED strips, puck lights, or light bars for shadow-free prep zones.
- Flush mount and semi-flush mount: use these in low ceilings for efficient ambient lighting.
Beam Angle and Placement
Narrow beam angles concentrate light on counters and islands. Conversely, wide beams spread ambient lighting across open areas. Proper spacing reduces hotspots and cuts the fixture count needed. Ultimately, thoughtful placement saves both energy and money.
Compare Hardwired and Plug-in Options
Hardwired fixtures connect directly to a junction box for a clean install. Often, they draw slightly less standby power than plug-in drivers. In contrast, plug-in under cabinet lighting installs quickly without an electrician. Nevertheless, check standby wattage on either option.
Set Color Temperature and CRI
Kelvin measures color temperature, from warm to cool. Residential kitchens often work best between 2700K and 4000K. Meanwhile, CRI shows how accurately colors render; aim for 80 or higher. See our kitchen lighting color temperature guide for ideal Kelvin choices zone by zone.
Mismatched temperatures make kitchens look patchy and unprofessional. Consequently, keep one Kelvin value across pendant lights, strips, and downlights. Accent lighting can stay warm while task lighting stays neutral. Still, keep differences within one step for visual harmony.
Look for Dimming Features That Cut Energy
A compatible dimmer trims output during low-need moments. Accordingly, dimming can reduce energy use by 20 percent or more. Smooth, flicker-free dimming also extends LED lifespan. Combine dimming with ambient, task, and accent layers using our layered kitchen lighting guide.
Verify Certification Claims
Legitimate efficiency claims carry third-party certification marks. Search for ENERGY STAR or DesignLights Consortium (DLC) listings. Additionally, damp-rated marks matter near sinks and ranges. Lastly, confirm each claim on the certifier’s public product database.
- Lighting Facts label: cross-check lumens, watts, and color temperature.
- IC-rated: required for recessed housings touching ceiling insulation.
- Warranty terms: five years or more signals manufacturer confidence.
Estimate Real Operating Costs
Operating cost depends on wattage, hours of use, and local rates. First, multiply fixture watts by daily hours, then divide by 1,000. Next, multiply kilowatt-hours by your electricity rate. As a result, you can compare any two fixtures on lifetime cost.
Longer LED lifespans shrink replacement spending as well. One 50,000-hour fixture can outlast five traditional bulbs. Fewer replacements mean lower material costs and less labor over time.
Frequently Asked Questions
How many lumens do I need for kitchen lighting?
Prep zones need 300 to 500 lux, roughly 800 to 1,000 lumens per key area.
What color temperature is best for a kitchen?
Most kitchens look best between 2700K and 4000K, with consistent Kelvin across all fixtures.
Do LED kitchen lights really save money?
Absolutely: LEDs use up to 80 percent less energy than incandescents while lasting far longer.
What does IC-rated mean for recessed lights?
IC-rated housings can safely touch ceiling insulation without creating a fire hazard.
Are dimmable LED fixtures worth it?
Indeed, dimmers cut energy use, reduce glare, and extend the lifespan of quality LEDs.
Choose Efficiency with Confidence
Efficient kitchen lighting starts with lumens per watt and ends with verified certifications. Finally, compare delivered lumens, pick consistent Kelvin, and add dimming. Your kitchen will look better and cost less to run. Launch your upgrade today with a fixture-by-fixture efficiency audit.


Leave a Reply