
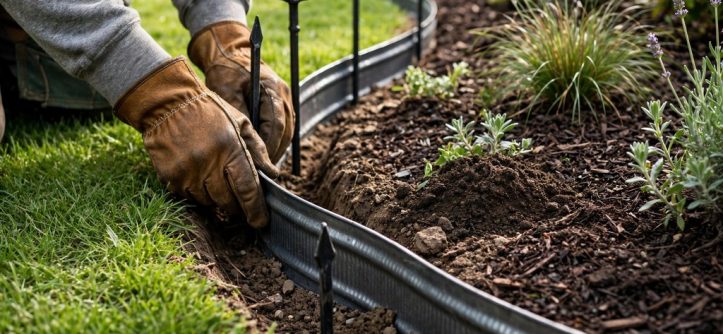
You can install metal garden edging around curves with flexible strips, careful marking, and steady bending. First, mark a smooth curve on the ground before you dig any trench. Next, bend each strip gradually along the marked line and secure it with stakes.
Additionally, flexible steel or aluminum strips resist kinking better than rigid boards during tight bends. Flexible metal garden edging bends smoothly around flower beds, winding paths, and rounded lawn borders. Similarly, clear layout marking keeps every curve consistent from start to finish.
Therefore, plan the full curve before you cut, bend, or stake any strip. For example, walk the route and view it from several angles first. Finally, adjust any awkward dip or sharp point before installation begins.
Choose Flexible Edging to Install Metal Garden Edging on Curves
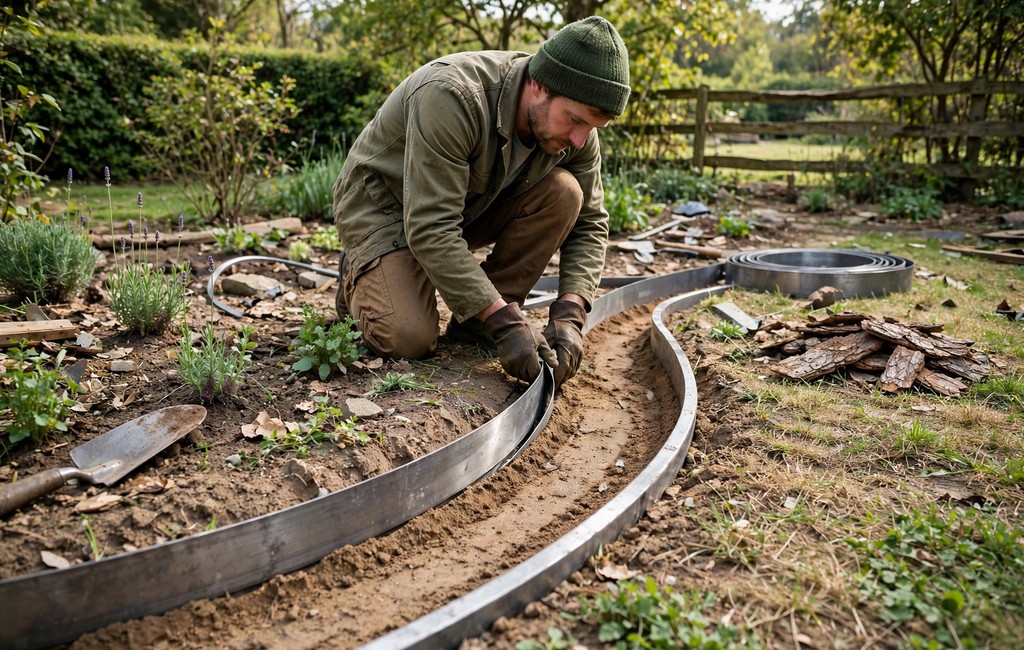
Thin steel bends smoothly and holds a clean line beside lawns and flower beds. Aluminum weighs less and bends easily, so beginners often handle it with greater confidence. However, thicker steel resists mower bumps and foot traffic more effectively over time.
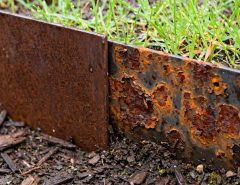
For example, corrugated strips flex in several directions and suit winding garden paths well. Similarly, powder-coated steel adds colour and surface protection without reducing flexibility much. Additionally, galvanized steel and corten steel offer durable finishes for exposed garden borders.
Mark a Layout to Install Metal Garden Edging on Curves
First, lay a garden hose along the planned border and shape it into a flowing curve. Next, step back and check the shape from the house and the path. Additionally, widen any curve that looks pinched or uncomfortably tight at first glance.
Then, mark the final line with chalk, sand, or spray paint for clear guidance. Similarly, place small stakes along sharp bends to show the intended arc clearly. Finally, remove the hose only after you confirm the full curve looks balanced.
Plan Curve Shapes for Beds and Paths
Gentle curves suit wide lawn borders and create a relaxed, natural garden flow. For example, sweeping arcs around flower beds draw attention toward plants and pathways. Similarly, circular tree rings and rounded bed corners soften otherwise straight garden layouts.
Tight curves work best around small beds, gravel paths, and compact planting areas. However, avoid combining many tight turns in one short border run. Therefore, balance bold curves with calmer stretches for a pleasing overall design.
Prepare Tools to Install Metal Garden Edging
Gather gloves, a spade, a rubber mallet, a tape measure, and sturdy stakes first. Next, clear rocks, roots, and loose debris from the marked curve before digging. Additionally, wear gloves because cut metal edges can scratch skin during handling.
- Gloves: Protect hands from sharp metal edges during bending and staking.
- Spade: Cut a narrow trench along the marked curve with steady pressure.
- Rubber mallet: Drive stakes firmly without denting the visible metal face.
- Tape measure: Check curve lengths and spacing before you cut any strip.
- Level: Confirm the top edge stays even along slopes and dips.
Dig a shallow, narrow trench along the marked line with steady spade cuts. Meanwhile, keep the trench base level so each strip sits at a consistent height. Therefore, remove loose soil from the trench before you place any edging strip.
Bend and Set Edging to Install Metal Garden Edging
First, pre-bend each strip gently by hand before you place it in the trench. Next, work along the curve in short sections rather than forcing one sharp bend. Additionally, press the strip gradually against the trench wall to shape a smooth arc.
For tight curves, use shorter sections and join them at natural bend points. Similarly, shape a strip around a bucket or tree stump for a consistent round arc. However, stop immediately if the metal starts to kink or fold sharply.
Set the top edge slightly above soil level to block grass roots and hold mulch. Meanwhile, check the height often so lawn mowers pass cleanly over the border. Finally, drive stakes into firm soil at regular intervals along the curve.
Join Sections When You Install Metal Garden Edging
Overlap each joint neatly and align the top edges before you drive the stakes. Next, use connectors or stake pockets to lock adjoining strips together securely. Additionally, trim excess length with a hacksaw and file each cut edge smooth.
If a curve waves unevenly, lift the strip and reshape that section before restaking. Similarly, add or move a stake wherever the strip pulls away from the trench wall. Therefore, sight along the top edge after every few stakes for a smooth line.
Backfill soil firmly against both sides and press it down with your feet. For example, water the backfill lightly to settle soil into gaps around the strip. Finally, check drainage so water flows away instead of pooling against the edging.
Keep Curved Edging Neat Over Time
Inspect curved sections regularly for loose stakes, lifted edges, or leaning strips. Additionally, tighten or replace any stake that no longer grips the soil firmly. Similarly, clear mulch and soil buildup that pushes the strip outward over time.
Trim grass along the border often to keep the curved line crisp and visible. However, avoid striking the metal face directly with mower wheels or trimmer heads. Therefore, leave a small mowing strip beside the edging for easier routine care.
Frequently Asked Questions
Can Metal Edging Bend Around Tight Curves?
Yes, flexible strips bend around gentle curves, while shorter sections handle tighter bends better.
How Do I Mark a Smooth Curve Before Installation?
Lay a garden hose along the border, adjust its shape, then mark the final line.
How Deep Should the Trench Run for Curved Edging?
Dig a shallow trench that buries most of the strip while leaving the top visible.
What Tools Help Install Curved Metal Edging?
Use gloves, a spade, a rubber mallet, stakes, and a tape measure for accurate work.
How Do I Fix a Wavy or Uneven Curved Line?
Lift the uneven section, reshape it gradually, then restake it along the marked line.
Conclusion
Curved metal edging rewards patient marking, gradual bending, and consistent staking at every stage. Additionally, smooth curves frame flower beds, paths, and lawn borders with lasting definition. Finally, start with one gentle curve, apply these steps carefully, and enjoy a cleaner garden border.

Leave a Reply