
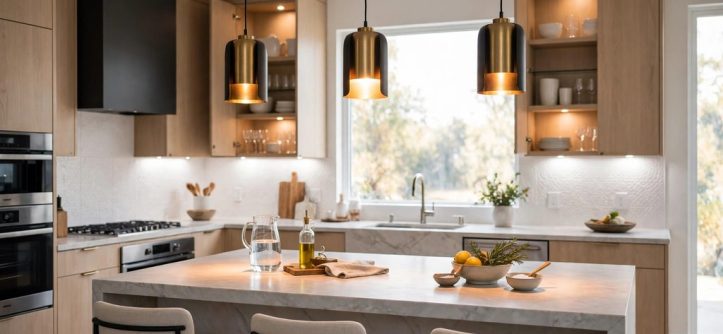
Layered kitchen lighting blends ambient, task, and accent light in one cohesive plan. Ambient lighting provides general brightness, task lighting targets work zones, and accent lighting adds visual depth. Each layer runs on its own control, so kitchens shift from bright prep to soft evening glow.
Most kitchens fail with a single ceiling fixture that throws shadows across every counter. Instead, plan three coordinated layers before cabinets and drywall finish.
This guide explains each layer, then shows how to combine them for prep, dining, and entertaining. Moreover, you will learn the fixtures, color settings, and controls professionals recommend.
Understanding the Three Kitchen Light Layers
Ambient lighting fills the room with soft, general illumination for safe movement. Task lighting delivers focused brightness to counters, the sink, and the cooktop.
Accent lighting highlights finishes, shelving, and architectural details with softer decorative light. Therefore, all three layers create a kitchen that feels bright, balanced, and inviting.
Layer One: Ambient Lighting
Ambient lighting provides the base level of light every kitchen needs. This base layer keeps walkways visible and prevents dark corners.
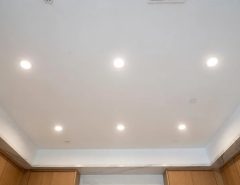
Recessed lighting arranged in a clean grid forms the most common ambient layer. Alternatively, a flush mount or semi-flush mount suits lower ceilings and smaller rooms. Our kitchen light fixtures guide compares ambient fixtures for different ceiling heights.
Keep Ambient Light Even and Glare-Free
Space recessed cans evenly, roughly four to six feet apart. Choose wide beam angles for smooth coverage without bright hot spots. Furthermore, place cans above walkways, not directly over upper cabinets. Our recessed kitchen lighting layout tips cover spacing for common kitchen sizes.
Layer Two: Task Lighting
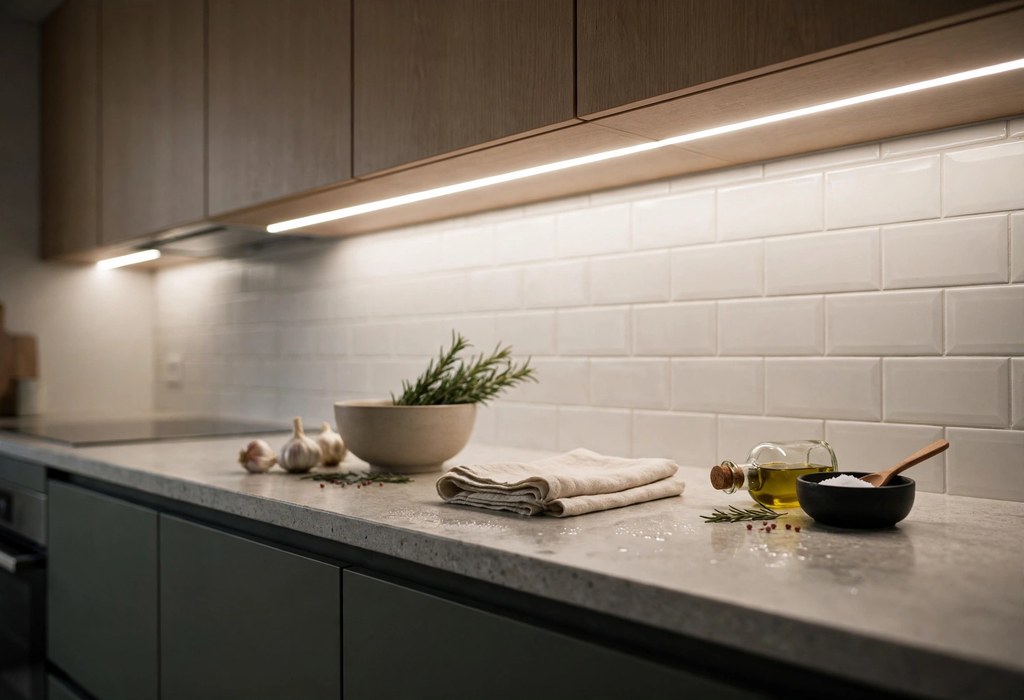
Task lighting targets the exact spots where you chop, mix, and read recipes. Under cabinet lighting leads this layer because it sits in front of your work surface.
LED strips and light bars spread continuous light along the full counter run. Puck lights instead create small pools of light at separate points. Position task fixtures toward the front of cabinets so light falls on counters, not cabinet faces.
Brighten the Kitchen Island and Sink
Pendant lights over the kitchen island combine task light with strong style. Hang them 30 to 36 inches above the counter for clear sight lines. See our pendant lights over kitchen island examples for spacing ideas. Meanwhile, add a dedicated downlight or wall sconce directly above the sink.
Layer Three: Accent Lighting
Accent lighting adds the jewelry: light that highlights, not illuminates. These fixtures draw attention to glass cabinets, open shelving, and textured backsplashes.
Install LED strips inside glass-front cabinets to make dishware glow. Run a low strip along the toe kick so the cabinetry seems to float. Additionally, graze light down a stone or tile backsplash for texture and drama.
Keep Accent Light Subtle
The accent layer should stay dimmer than task light by a wide margin. Bright accents compete with task light and ruin the layered effect. Consequently, put accent fixtures on their own dimmer for fine control.
Match Color Temperature, CRI, and Lumens
Kelvin measures color temperature, which sets the mood of each layer. Use 2700K to 3000K for warm ambient light and 3500K to 4000K for task light. Maintain one color temperature per layer to avoid visual clashes.
CRI measures how accurately light renders color, with 100 as perfect. Select fixtures rated CRI 90 or higher so food and finishes look true. Lumens measure brightness, so match lumens to each layer and room size. Generally, choose brighter lumens for counters and softer lumens for accents.
Set Brightness Levels for Each Layer
Aim for 30 to 40 lumens per square foot for the ambient layer. Work surfaces, meanwhile, need stronger task light with focused lumens.
The decorative layer uses the lowest lumens since it creates mood, not visibility. Fine-tune each layer until the room feels balanced, then save the scene.
Control Every Layer Independently
Separate controls let each layer play its part at different times of day. Wire one dimmer for ambient light, one for task light, and one for accents.
Dimmers let bright prep lighting melt into a soft evening glow. Verify every dimmer pairs with LED fixtures to prevent flicker and buzzing. Smart switches, however, can group layers into preset scenes for cooking or dining.
Layer Lighting for Real Kitchen Scenarios
Concrete scenarios show how the three layers combine during a normal day. Watch how each scene balances brightness, warmth, and focus.
Food Preparation
Turn task lighting to full brightness for chopping, reading, and cleanup. Set ambient light at medium levels to avoid harsh contrast with counters. Dim accent lighting low so it does not distract from the work.
Dining
Lower task lighting and raise warm ambient light around the table. Island pendants glow softly when dimmed on a dedicated circuit. Accent lighting on shelving adds a cozy backdrop for the meal.
Entertaining
Drop task lighting to a minimum and let accent layers lead. Toe-kick strips and cabinet interiors create a warm, social atmosphere. At the same time, keep a small pool of task light near the drinks station.
Plan Wiring and Safety Early
Plan every fixture location before walls close, then confirm wiring routes. Every hardwired fixture needs a proper junction box rated for the load. Pick IC-rated housings wherever recessed lights touch ceiling insulation. Also choose damp-rated fixtures above sinks and near cooking steam.
Hardwired under cabinet lighting delivers clean, switch-controlled power. Plug-in strips instead work for renters and avoid new electrical circuits. Either way, confirm dimmer compatibility before you buy any fixture.
Avoid These Layering Mistakes
- Skipping dimmers: install dimmers on every layer or the plan stays rigid.
- Mixing color temperatures: keep one Kelvin range per layer for visual harmony.
- Skipping task first: place task lighting before ambient fill and accents.
- Overlighting the ceiling: use fewer recessed cans and more under cabinet strips.
- Ignoring shadows: check that your body never shades the work surface.
Conclusion: Build Your Layered Plan
Start with task lighting, add ambient fill, then finish with accents. Match Kelvin, CRI, and lumens across layers, then zone each dimmer separately. Finally, sketch your layout today and book a lighting consultation to finalize it.
Frequently Asked Questions
What Are the Three Layers of Kitchen Lighting?
Ambient light provides general brightness, task light targets work zones, and accent light adds decoration.
What Color Temperature Is Best for Kitchen Lighting?
Use 2700K to 3000K for ambient light and 3500K to 4000K for task areas.
How Many Recessed Lights Does a Kitchen Need?
Plan one recessed light for every four to six square feet, spaced four to six feet apart.
Should Each Lighting Layer Have Its Own Switch?
Yes, give ambient, task, and accent layers separate dimmers for full flexibility.
Can I Mix Warm and Cool Light in One Kitchen?
You can, but keep one color temperature per layer and test bulbs together first.

Leave a Reply