
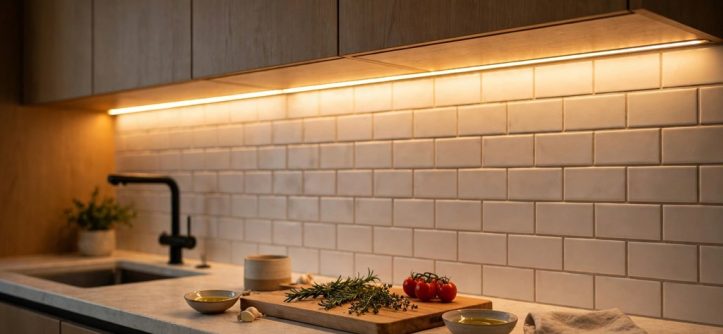
To install under cabinet kitchen lighting, first choose between LED strips, light bars, or puck lights. Next, decide on hardwired or plug-in power and mount fixtures toward the front edge of each cabinet. Finally, connect power safely, test the layout, and hide all wiring for a clean finish.
Good under cabinet lighting transforms dark counters into bright, usable workspaces. It fills the shadows that wall cabinets cast onto countertops below. As a result, chopping, reading recipes, and cooking become safer and more comfortable. This guide walks you through every choice and step.
How to Choose Between LED Strips, Light Bars, and Puck Lights
LED Strips
LED strips are flexible ribbons with tiny diodes that produce continuous, even light. They conform to any cabinet length, including corners and odd shapes. Installers often mount them inside aluminum channels for smoother light and better heat control. In addition, many strips offer adjustable color temperature for flexible mood setting.
- Best for: full countertop runs where you want seamless task lighting with no visible hotspots.
- Mounting: press the adhesive backing into place, then reinforce the ends with small mounting clips.
- Control: pair the strips with a compatible dimmer switch for adjustable brightness.
- Watch for: choose damp-rated strips near the sink to resist moisture and steam damage.
Light Bars
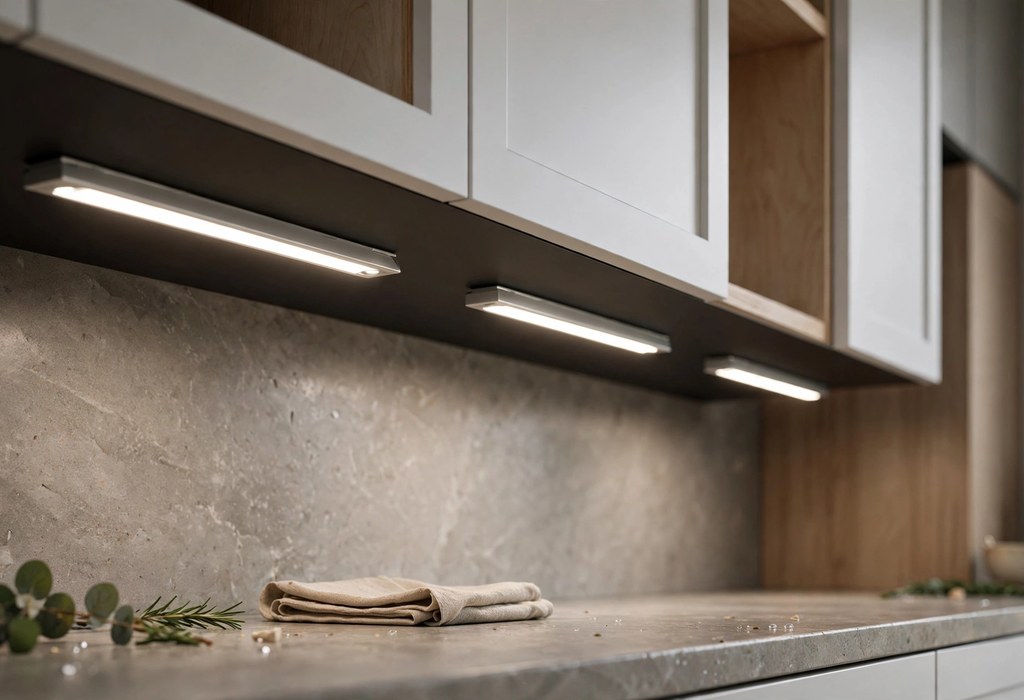
Light bars are rigid fixtures with a frosted lens that spreads light evenly. Their wide beam angle covers the full depth of standard countertops. Furthermore, slim profiles hide easily behind the cabinet’s front lip. As a result, they deliver a clean, professional look with minimal fuss.
- Best for: straight cabinet runs where you want uniform coverage without visible dots.
- Mounting: screw the included brackets under the cabinet, then snap each bar into place.
- Linking: connect multiple bars with jumper cables for one continuous run of light.
Puck Lights
Puck lights are small round discs that throw focused pools of light downward. Their narrow beam angle makes them ideal for display shelves and accent lighting. However, they create bright spots and dark gaps on long counters. Therefore, space them every eight to twelve inches for better coverage.
- Best for: highlighting decor, glassware, or a coffee station with warm accent lighting.
- Mounting: use adhesive pads or screws, and aim each puck toward the front edge.
- Power note: many puck kits run on batteries, which need regular recharging.
Plan Placement to Reduce Shadows and Even Out Light
Mount fixtures toward the front edge of the cabinet, not the back. This position throws light forward onto the workspace and keeps the backsplash from casting shadows. Meanwhile, recessing the fixture one to two inches behind the front lip hides it from view. Consequently, you get bright counters without seeing the source.
Under cabinet lights provide focused task lighting, while ceiling fixtures supply the room’s ambient lighting. Match the color temperature of both layers so the kitchen feels consistent. For example, if your flush mount or semi-flush mount glows warm, choose warm strips or bars too. Additionally, check a recessed kitchen lighting layout before drilling so both layers coordinate well.
On a kitchen island, pendant lights usually handle the visual layer instead of under cabinet fixtures. Still, pair them with matching color temperature for a cohesive look. In tight rooms, the right lighting for small kitchens with low ceilings keeps sightlines open.
Choose Hardwired or Plug-In Power
Hardwired fixtures connect directly to your home’s electrical wiring for the cleanest look. First, an electrician feeds the circuit through a junction box hidden in the cabinet. Then the lights tie into a wall switch, which accepts a compatible dimmer. Because electrical work carries real risk, always hire a licensed electrician for hardwired installs. If your renovation adds recessed lighting through an insulated ceiling, choose IC-rated housings for safety.
Plug-in kits skip the electrical work entirely and run from a standard outlet. Simply mount the fixtures, route the cord along the back of the cabinet, and plug in. Because cords stay visible, use adhesive cable clips to keep them tidy. However, check that the outlet can reach every cabinet run before you buy.
Set Color Temperature, Brightness, and Dimming
Manufacturers rate color temperature in Kelvin, and it shapes how the kitchen feels. Warm light at 2700 to 3000 Kelvin suits traditional kitchens and evening gatherings. Meanwhile, neutral light at 3500 to 4000 Kelvin supports detailed cooking tasks. Therefore, pick one temperature and use it for every fixture.
Brightness matters just as much, so plan for 200 to 400 lumens per linear foot of cabinet. Also check the CRI rating, which measures how truly colors appear under the light. Look for a CRI of 90 or higher for accurate food colors. Finally, add a dimmer so you can shift from bright prep light to soft evening glow.
Follow a Simple Installation Sequence
Before you drill or stick anything, map the whole room. Our kitchen light fixtures guide shows how under cabinet lights fit with ceiling layers.
- Measure and mark: measure each cabinet run and mark fixture positions with a pencil.
- Cut and connect: cut LED strips only at the marked lines, then join sections with solderless connectors.
- Clean and mount: wipe surfaces with rubbing alcohol, let them dry, then press fixtures firmly in place.
- Route and hide: run cords along the back edge with clips, then tuck drivers in a cabinet.
- Test and adjust: power on the lights, check coverage from counter height, then fine-tune positions.
Frequently Asked Questions
Should under cabinet lights go at the front or back of the cabinet?
Mount them toward the front edge to push light onto the countertop and reduce backsplash shadows.
Is it better to hardwire or plug in under cabinet lights?
Hardwired systems look cleaner and run from a switch, while plug-in kits install faster without electrical work.
What color temperature works best under kitchen cabinets?
Choose 2700 to 3000 Kelvin for warm ambience or 3500 to 4000 Kelvin for brighter task lighting.
Can I install under cabinet lighting myself?
Yes, plug-in and battery kits are easy DIY projects, but hardwired wiring calls for a licensed electrician.
How do I avoid glare on my countertops?
Pick fixtures with frosted lenses and mount them behind the front lip so the source stays hidden.
Brighten Your Kitchen with a Weekend Install
Under cabinet kitchen lighting is one of the simplest upgrades with the biggest daily payoff. Start by choosing the fixture type that matches your cabinets and wiring comfort level. Plan placement carefully, pick a consistent color temperature, and hide every wire. Finally, take the next step and gather your tools this weekend to brighten your kitchen.

Leave a Reply