
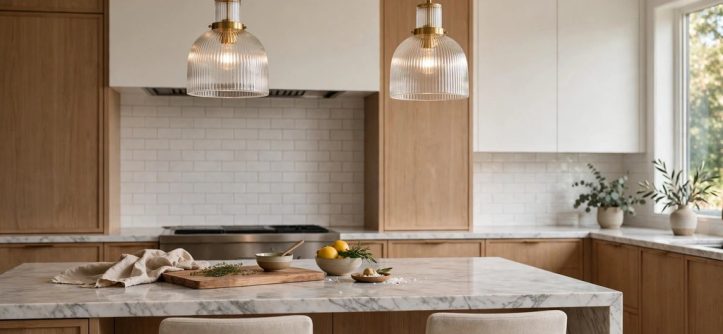
Hang the bottom of each pendant 30 to 36 inches above the kitchen island countertop. Then space multiple pendants 24 to 30 inches apart, measured center to center. Finally, most islands need two or three pendants for even coverage.
Pendants are the hardest-working fixture above your kitchen island. They deliver task lighting for chopping and reading recipes. Their glow also adds ambient lighting that warms the whole room.
Before you drill any holes, map the layout on paper first. A planned layout prevents dark spots and crooked rows later. It also saves time when your electrician arrives.
This guide covers height, spacing, fixture count, and brightness choices. For the full picture, start with our kitchen light fixtures guide before you buy. Together these details create safe, even task lighting. They also keep your island looking balanced from every angle.
Measure Your Island and Ceiling First
Island Length Decides Pendant Count
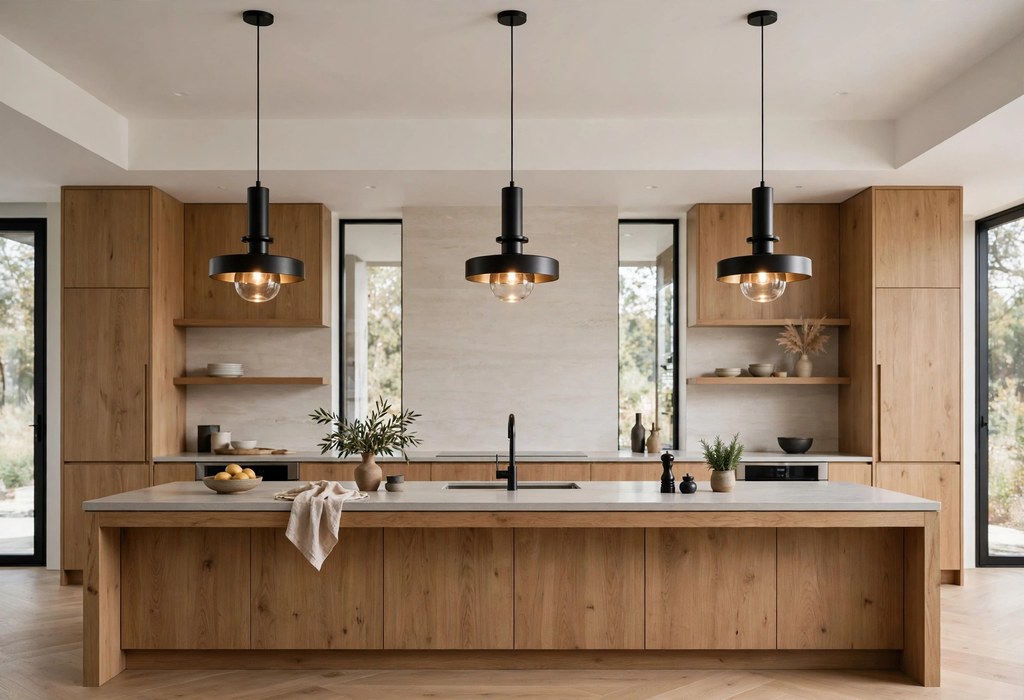
Start by measuring the full length of your kitchen island. Then match the pendant count to that length below. An odd number often looks more settled over a long island.
- Under 4 feet: use one pendant, or a pair of small ones.
- 4 to 6 feet: use two medium pendants for balanced coverage.
- 6 to 8 feet: use three pendants or one linear fixture.
- Over 8 feet: use three or more pendants, or a linear fixture.
Keep the end pendants 6 to 12 inches in from each island edge. This inset keeps fixtures clear of the edges. It also spreads light across the full work surface.
Ceiling Height Adjusts the Drop
The standard 30 to 36 inch height suits 8 foot ceilings. For taller ceilings, add about 3 inches per extra foot. This keeps the pendants proportional to the room.
Very large or visually heavy pendants may need a slightly higher hang. Meanwhile, small pendants can hang lower for intimacy. Therefore, test the height with cardboard mockups before wiring.
Set the Right Hanging Height
Measure from the countertop surface to the bottom of the shade. Most cooks prefer 30 to 32 inches for strong task lighting. However, aim for 34 to 36 inches when sightlines matter more.
Sit at the island and check the view across it. The shade should sit below your eye level. Otherwise, the bulb will glare and block conversation.
Also keep at least 6 to 7 feet of floor clearance under each pendant. This prevents bumps from taller family members. Finally, leave room to lean over the island comfortably.
Space Multiple Pendants Evenly
Center the whole row over the kitchen island lengthwise. Then divide the length into equal segments for each pendant. This creates even light pools without dark gaps.
Layout Example for a Small Island
A 5 foot island suits two pendants perfectly. Place the first pendant about 15 inches from one end. Then mirror that position from the opposite end.
Alternatively, hang one wide pendant in the center. A single fixture simplifies wiring and suits narrow islands. Just size it to about one third of the island length.
Layout Example for a Large Island
A 9 foot island suits three pendants nicely. Position them at the quarter, half, and three-quarter marks. Each center then sits about 27 inches apart.
For islands over 10 feet, consider a long linear fixture instead. One linear pendant covers the span with a single electrical point. It also keeps narrow islands looking clean and uncluttered.
Choose Brightness and Color Temperature
Pendants should make prep work easy on your eyes. Aim for 300 to 400 lumens per pendant. Then fine-tune the brightness with a dimmer switch.
Pick a warm to neutral color temperature for the kitchen. A 2700K to 3500K Kelvin range flatters food and skin tones. Additionally, choose bulbs with a CRI of 90 or higher for accurate colors.
- Beam angle: choose a wide beam for general coverage or a narrow one for focused pools.
- Shade style: opaque shades focus light downward, while glass shades spread it around.
- Dimmer compatibility: confirm the bulbs and dimmer switch work together before installation.
Avoid bare bulbs that create harsh glare at eye level. Instead, pick shades that shield the bulb from view. Your evening conversations will feel much more comfortable.
Layer Pendants With Other Kitchen Lighting
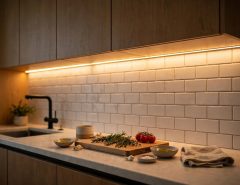
Pendant lights work best inside a layered kitchen lighting plan. Add recessed lighting for general ceiling fill. Then install under cabinet lighting with LED strips or puck lights.
Light bars under wall cabinets wash the backsplash with accent lighting. This soft glow adds depth after dinner. It also keeps walkways safe when the pendants dim down.
Over the sink or range, consider a flush mount or semi-flush mount fixture. These low-profile fixtures suit tight clearances. For more ideas, explore our kitchen lighting styles roundup for complementary looks.
Hardwired or Plug-In: Plan the Electrical Work
Most island pendants are hardwired into a ceiling junction box. Mark each box position on the ceiling before cutting. Then route the wiring through the ceiling cavity.
Hardwired work should follow local electrical code. Therefore, consult a licensed electrician for any new wiring. This protects your home and keeps the project safe.
Plug-in pendants offer a simpler path with no new wiring. However, cords must reach an outlet neatly. Also choose damp-rated fixtures if the island sits near a steamy range.
If your kitchen has a drop ceiling with insulation above, use IC-rated housings. These housings handle direct contact with insulation safely. Your electrician will confirm the right rating.
Frequently Asked Questions
How high should pendant lights hang above a kitchen island?
Hang the bottom of each pendant 30 to 36 inches above the countertop for comfortable task lighting.
How many pendant lights do I need over my island?
Use two pendants for islands up to 6 feet, and three for islands up to 9 feet.
How far apart should kitchen island pendant lights be?
Space pendants 24 to 30 inches apart from center to center.
What size pendant lights work best over a kitchen island?
Choose individual pendants 10 to 14 inches wide, totaling about one third of the island length.
Do kitchen island pendant lights need a dimmer switch?
A dimmer is not required, but it shifts bright prep light to a soft evening glow.
Get Your Island Lighting Right
Good pendant placement turns your island into the kitchen’s favorite spot. Measure twice, hang once, and enjoy the result. Now grab a tape measure and sketch your layout today.

Leave a Reply