
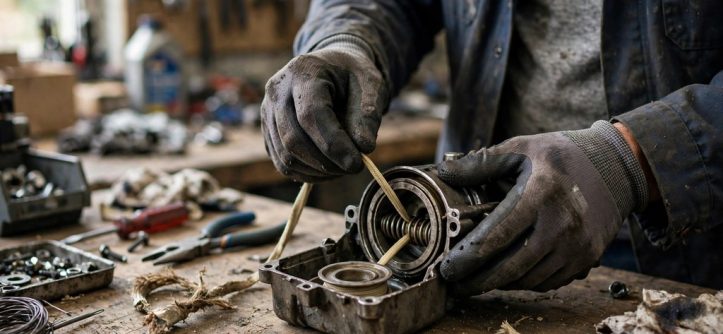
A stuck lawn mower pull cord usually yields to a fresh cord and a retensioned pulley. First, inspect the recoil starter before you blame the engine itself. Then follow the diagnosis below and replace only the parts that actually failed.
A cord that will not pull usually points to a jam or a locked engine. However, a cord that hangs loose usually points to lost spring tension or damage. Meanwhile, a snapped cord simply needs careful replacement and correct pulley tension.
Also, basic hand tools handle almost every step in this repair. Moreover, this repair restores reliable starting without replacing the whole starter assembly.
Diagnose the Lawn Mower Pull Cord Problem First
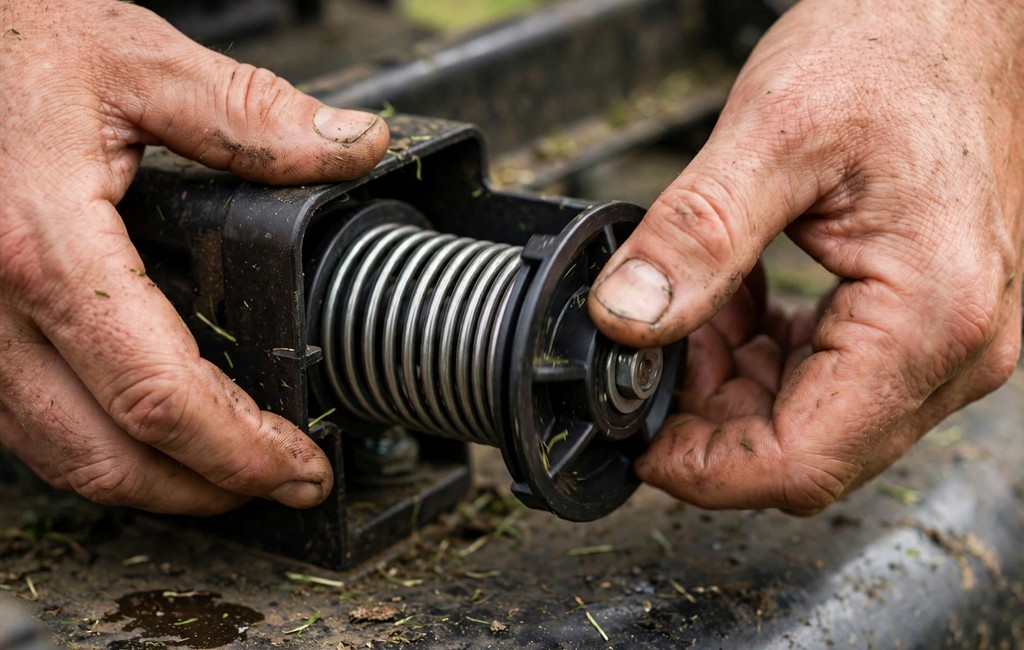
First, hold the engine brake lever and pull the cord slowly once. Next, note exactly where the cord stops, slips, or refuses to return. That simple observation then points you toward the right repair path.
For example, packed grass around the blade can lock the crankshaft completely. Similarly, oil inside the cylinder can cause hydro-lock after improper tipping. Therefore, check simple obstructions before you open the starter housing.
Match the Symptom to the Likely Cause
- Cord will not pull: First, check the blade area and flywheel for packed debris.
- Cord pulls but stays out: Next, suspect lost recoil spring tension or a jammed pulley.
- Cord feels frayed or thin: Then replace the cord before the weakened section snaps completely.
- Cord spins without turning engine: Finally, inspect the starter pawls for wear, dirt, or breakage.
Good lawn mower repair and maintenance starts with this simple symptom check. Also, examine the handle, housing eyelet, and cord for visible damage. Indeed, sharp eyelet edges often fray cords long before they snap.
Make the Mower Safe Before You Start
First, park the mower on flat ground and let the engine cool completely. Next, disconnect the spark plug wire and move it away from the plug. Then wear work gloves and eye protection throughout the whole repair.
Also, treat the recoil spring as stored energy inside the housing. Indeed, the spring can unwind sharply and cut unprotected hands quickly. Therefore, never pry open the spring cup during a cord replacement. Additionally, manuals vary by model, so confirm every step before proceeding.
Gather the Basic Tools
- Socket or screwdriver set: First, choose the driver that matches your housing fasteners exactly.
- Needle nose pliers: Next, use pliers to pull old knots from the pulley recess.
- Replacement starter cord: Then match the old cord for length and thickness before buying.
- Clamp or locking tool: Finally, hold the tensioned pulley safely while you thread the cord.
Remove the Lawn Mower Pull Cord Housing
First, locate the recoil starter housing on top of the engine. Next, remove the housing screws or bolts and keep them organized. Then lift the housing straight off and set it face up.
Also, inspect the underside before you disturb the pulley or cord. Look for cracked pulleys, loose pawls, dirt, and rust around the hub. However, leave the central spring cup closed and untouched during inspection.
Next, spin the pulley gently by hand and feel for rough spots. Also, clean loose dust and grass from the housing with a brush. However, skip harsh solvents and heavy grease inside the recoil mechanism.
Replace the Lawn Mower Pull Cord With the Right Size
First, measure both pieces of the old cord before you discard anything. Typical walk-behind cords run roughly six to eight feet long overall. Similarly, typical cords use a thickness close to the original cord only. Therefore, confirm the exact length and thickness in your manual first.
Next, unwind the old cord and pull its knot from the pulley. Then tie a firm knot in one end of the new cord. Also, seat that knot fully inside the pulley recess or anchor slot. For example, some pulleys use a hole while others use a notch.
For example, seal a synthetic cord end carefully before threading it through. Then pull each knot firmly and trim only the loose excess cord. Also, keep the handle knot large enough to resist pulling through.
Rewind and Tension the Pulley
First, wind the pulley in the direction that tightens the recoil spring. Next, keep winding until you feel strong and steady spring resistance. Then ease the pulley back until both cord holes align neatly. Finally, lock the pulley in place with a screwdriver through the notches.
Now thread the free cord end through the housing eyelet and pulley hole. Then release the pulley slowly while you guide the cord inward. Also, keep light tension on the cord throughout the whole rewind. Finally, thread the handle onto the cord and tie a secure knot.
Know When to Stop and Replace the Assembly
However, a loose or broken spring changes the job completely. The spring holds stored energy and can unwind sharply without warning. Therefore, avoid opening the spring cup and avoid rewinding loose coils. Instead, choose a complete replacement starter assembly or visit a shop.
Also, add one extra pulley turn if the cord still hangs slack. Conversely, ease off one turn if the handle pulls back too harshly. Still, stop immediately if the pulley cracks or binds during tensioning. A quality lawn mower pull cord lasts longer when the pulley stays clean.
Reassemble and Test the Lawn Mower Pull Cord
First, set the starter housing back onto the engine carefully. Next, align the pawls with the flywheel cup before tightening anything. Then reinstall every housing fastener and tighten each one evenly. Finally, reconnect the spark plug wire firmly onto the plug.
Then pull the cord slowly and watch the handle retract fully. Next, repeat the pull twice and listen for scraping or binding. Finally, start the engine outdoors and confirm smooth and reliable operation.
If the cord works but the engine still fails, investigate why a mower won’t start next. Also, self-propelled owners can replace the drive belt during the same session. Indeed, one careful session restores starting, drive, and overall mower reliability.
Prevent the Next Cord Failure
First, pull the cord straight out and avoid sharp sideways angles. Next, release the handle gently instead of letting it snap back. Also, inspect the cord monthly for fraying near the handle and pulley.
- Store the mower dry: First, keep moisture away from the spring, pulley, and housing.
- Clear debris promptly: Next, remove packed grass before it hardens around the blade.
- Replace frayed cords early: Then change weak cords before they snap during a start.
- Follow the manual: Finally, confirm lubrication points and fastener details for your model.
Frequently Asked Questions
Why will my lawn mower pull cord not pull out?
Usually, packed debris, a locked blade, or hydro-lock blocks engine rotation completely.
Why does my pull cord pull out but not retract?
Typically, the recoil spring loses tension, breaks, or slips from its anchor.
Can I replace a lawn mower pull cord myself?
Yes, most owners can replace the cord with basic tools and patience.
What size pull cord does my lawn mower need?
Your manual lists the exact size, and typical cords vary by model.
Should I replace the recoil spring or the whole starter assembly?
Usually, a complete assembly suits most owners because spring work carries real risk.
Conclusion
Start with the symptom, then work through the starter in order. Also, respect the spring and confirm model details in your manual. Finally, grab your tools today and restore smooth starting this weekend. Carry the old lawn mower pull cord to the store to match its diameter exactly.


Leave a Reply