
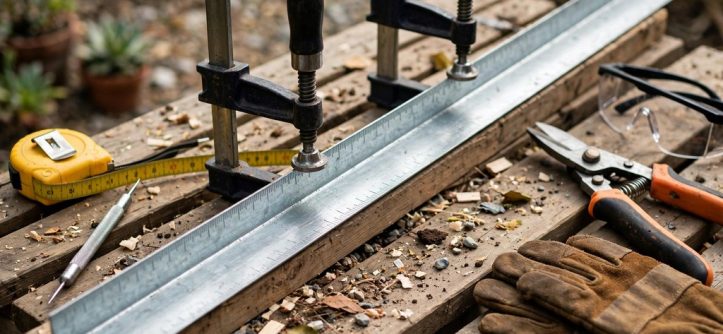
You can cut metal garden edging safely with careful measuring, firm clamping, and suitable protective gear. First, match your cutting tool to the metal type and thickness for a clean accurate result. Next, mark each cut clearly, secure the strip firmly, and finish every sharp edge after cutting.
Additionally, safe cutting protects your hands, eyes, and hearing during every stage of the work. Thin aluminium strips respond well to hand snips, while thicker steel strips need stronger power tools. Therefore, plan each cut before you switch on any tool or grip any snips. Careful preparation also prevents wasted strips, jagged edges, and awkward joints at corners.
Connect Cutting Steps to Your Overall Garden Plan
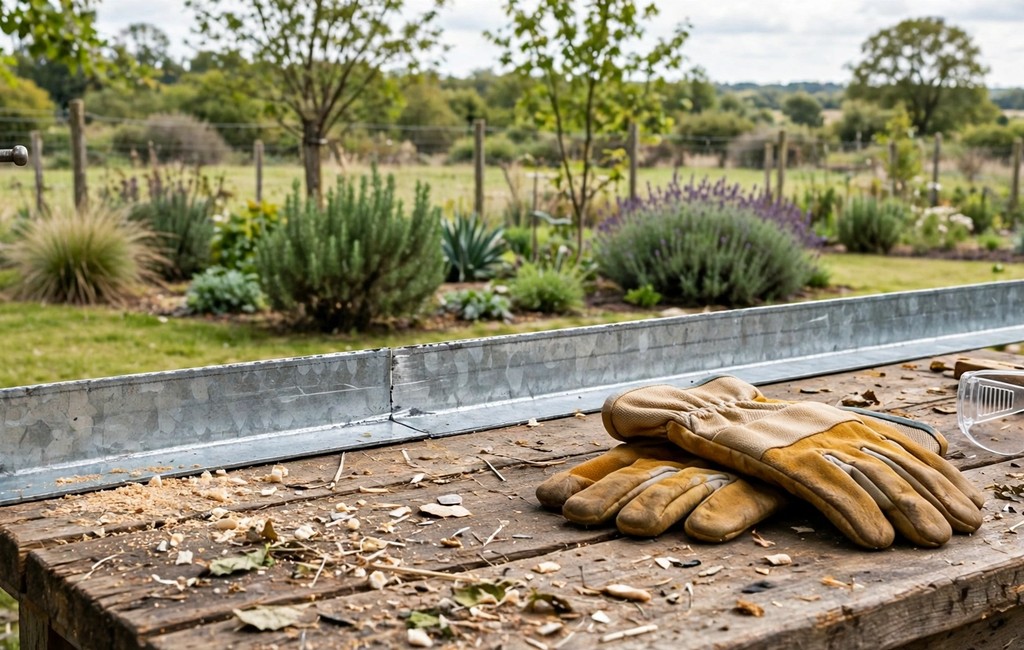
First, compare your planned cuts with the wider metal garden edging guide before you mark anything. Next, check each run length, corner position, and joint location against your garden layout. Additionally, note any curves, slopes, or fixed features that affect strip length and cutting angles.
Choose the Right Tool to Cut Metal Garden Edging
Start by identifying your metal type, thickness, and surface finish before you choose any tool. Thin aluminium and light steel strips cut cleanly with aviation snips or sturdy tin snips. For example, hand snips suit short trims, small notches, and gentle curved cuts.
Thicker steel, coated steel, and weathering steel demand stronger cutting power and steadier control. Next, choose a hacksaw with a fine metal blade for controlled cuts on medium thickness strips. Additionally, select an angle grinder or reciprocating saw for long cuts through thick steel strips.
Match Hand Tools to Thin Metal
Hand snips give you quiet control, clean edges, and no sparks during short cuts. However, snips struggle with thick steel, long straight runs, and repeated heavy cuts. Therefore, reserve hand tools for thin sections, small adjustments, and delicate trimming work.
Match Power Tools to Thick Metal
Measure and Mark to Cut Metal Garden Edging With Care
Measure each garden run along its true path, not across a shortcut between endpoints. For example, follow curves with a flexible tape so your length matches the real border. Next, record each measurement clearly and check it again before you transfer it.
Transfer each length to the strip with a clear marker line across its full width. Additionally, use a straightedge or square to keep the line square across the strip face. Similarly, mark the waste side clearly so you cut on the correct side of the line.
Finally, dry fit the uncut strip beside the trench, lawn edge, or pathway before cutting. However, adjust your marks now if a corner, stake, connector, or tree root shifts the layout. Therefore, treat measuring as a cutting step, not a quick guess before cutting.
Set Up Safe Cutting With Clamps and Protection
Wear safety glasses or goggles before you handle, mark, or cut any metal strip. Additionally, wear suitable work gloves that protect your hands without reducing your grip or control. Similarly, wear hearing protection whenever you use an angle grinder, reciprocating saw, or chop saw.
Clamp the strip firmly to a stable workbench before you start any cut. Next, position the clamp close to the cut line without blocking the blade path. However, leave the waste end free enough to fall safely without pulling the strip sideways.
Keep sparks away from dry leaves, mulch, fuel, and other flammable garden materials. Therefore, choose a clear cutting area with good ventilation and firm footing underfoot. Finally, handle every cut piece by its flat faces, never by its fresh sharp edge.
Cut Thin Metal With Hand Tools
Open the snips fully, align the blades with your marked line, and close them steadily. Next, advance the snips in short controlled bites along the line for accuracy. Additionally, keep your free hand clear of the blade path and the curling waste strip.
Use a hacksaw for thin steel strips that resist snips or need a straighter edge. First, seat the blade firmly, hold the strip steady, and use long smooth strokes. Meanwhile, let the blade teeth do the work instead of forcing the saw through metal.
Cut Thick Metal With Power Tools
Fit the correct metal cutting disc or blade before you switch on any power tool. Next, check the guard position, disc condition, and power cord route before cutting. Additionally, grip the tool firmly with both hands and keep your body clear of sparks.
Guide an angle grinder slowly along the marked line with steady even pressure. However, avoid pushing hard, twisting the disc, or forcing the tool through thick steel. Similarly, pause briefly if the disc heats up, binds, or throws unusual sparks during cutting.
Use a reciprocating saw or jigsaw with a fine metal blade for shaped cuts and tight spaces. First, support the strip well, start the blade slowly, and follow the marked line closely. Finally, switch the tool off fully before you inspect the cut or move the strip.
Finish Sharp Edges and Protect Cut Ends
File every fresh cut edge until it feels smooth under a gloved hand. Next, work the file along the edge in one direction for an even finish. Additionally, round the corners slightly so the finished border feels safe beside lawns and paths.
Brush away metal filings, swarf, and dust from the strip before you install it. Similarly, wipe the cut end clean so coatings and touch up paint adhere properly. Therefore, apply a suitable touch up coating to bare cut ends on coated or galvanised steel.
Avoid Mistakes When You Cut Metal Garden Edging
Most cutting problems come from rushing, loose clamping, or unclear marks on the strip. For example, a shifting strip creates angled cuts, ragged edges, and wasted material quickly. Therefore, slow down, secure the work, and confirm every mark before cutting.
- Rushing cuts: Slow steady strokes produce cleaner edges and safer control.
- Skipping clamps: Firm clamps prevent shifting strips and angled inaccurate cuts.
- Ignoring marks: Clear marks prevent wrong lengths and wasted edging strips.
- Leaving burrs: Smooth filed edges protect hands during garden installation work.
Frequently Asked Questions
Can You Cut Metal Garden Edging With Tin Snips?
Yes, tin snips cut thin aluminium and light steel strips cleanly and quietly.
What Tool Cuts Thick Metal Garden Edging Best?
An angle grinder with a metal cutting disc cuts thick steel quickly and straight.
How Do You Cut Metal Garden Edging Accurately?
First, measure twice, mark clearly, clamp firmly, and cut slowly along the line.
Should You File Metal Edging After Cutting?
Yes, file every cut edge smooth to remove burrs and protect hands safely.
Can You Cut Metal Edging After Installation?
A reciprocating saw trims installed edging, but clamp nearby sections first.
Cut With Confidence and Finish Cleanly
Accurate metal edging starts with the right tool, clear marks, and firm clamping. Additionally, strong safety habits protect you while power tools and hand tools shape each strip. Therefore, finish every cut smoothly, test each fit carefully, and install clean borders proudly.
Now gather your tape, marker, clamps, and protective gear for your next garden project. Next, measure your first run carefully and make your first confident accurate cut today.


Leave a Reply