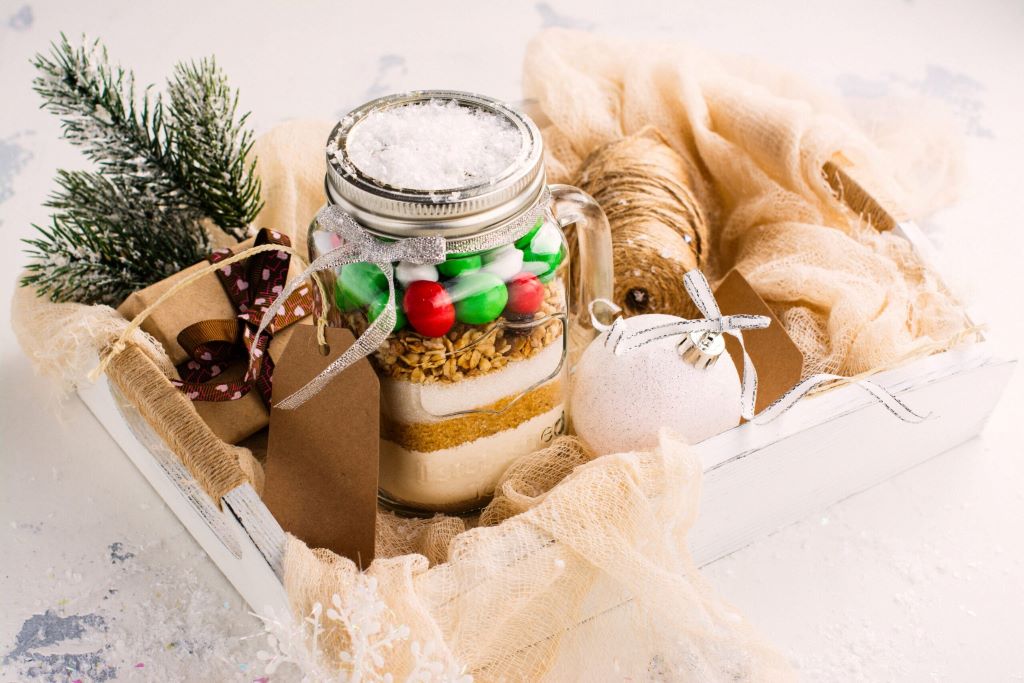
In a world overflowing with mass-produced toys and fleeting trends, there’s something truly special about a handmade gift. It carries a weight beyond its materials – the weight of time, thought, and love woven into every stitch, brushstroke, or carefully assembled piece. Choosing to create a gift for a child isn’t just about saving money or being crafty; it’s about giving a piece of yourself, creating a tangible connection, and offering something unique in a world of duplicates.
Handmade gifts spark imagination in ways store-bought items often can’t. They whisper tales of creativity, patience, and the joy of making. For a child, receiving something made just for them fosters a sense of being seen and cherished. It tells them they are worth the time and effort. Furthermore, the process of making gifts, perhaps even involving the child, offers invaluable lessons in skill-building, problem-solving, and the deep satisfaction of creating something with your own hands. Let’s explore ten wonderful handmade gift ideas that are sure to bring smiles and create lasting memories.
Why Choose Handmade Gifts for Kids?
Before diving into specific ideas, let’s appreciate why handmade holds such appeal. Beyond the undeniable charm, handmade gifts offer distinct benefits:
- Uniqueness & Personalization: No two handmade items are exactly alike. You can tailor colours, themes, and details precisely to the child’s personality and interests – their favourite animal, colour, or current obsession can take centre stage.
- Emotional Value: A handmade gift is a tangible expression of love and effort. It communicates care on a deeper level than a quick purchase. Children often treasure these gifts more because they understand someone special made it just for them.
- Skill Development (for the maker and potentially the child): Creating gifts hones your own skills, but it can also be an opportunity to teach children basic crafting techniques, fostering their creativity, fine motor skills, and patience.
- Sustainability & Cost-Effectiveness: Often, handmade gifts utilize recycled materials (jars, fabric scraps, cardboard) or simple, affordable supplies. This reduces waste and can be significantly lighter on the wallet than purchasing new items.
- Quality Time: If you involve the child in making gifts for others (or even help them make parts of their own gift, like decorating a box), it becomes a wonderful bonding experience, creating shared memories alongside the physical present.
Now, let’s spark your creativity with these ten ideas!
The Personalized Storybook Adventure
Imagine a child’s delight seeing their own name, friends, or even pets woven into a story! Creating a personalized storybook is a truly magical gift.
You can write and illustrate a simple story yourself, focusing on themes the child loves – perhaps an adventure in their own backyard or a tale featuring their favourite toys. Use sturdy cardstock or a blank notebook. Alternatively, print out photos of the child, family, and friends, and paste them into a scrapbook, writing narrative text around them. Binding can be as simple as punching holes and tying with ribbon or using a photo album. This gift encourages literacy and makes the child the star of their very own tale.
DIY Sensory Play Kits (Playdough, Slime, Moon Sand)
Sensory play is crucial for early childhood development, and custom kits make fantastic gifts. Think beyond just the dough – curate a themed experience.
Making the Kit Special
Package homemade playdough (plenty of no-cook recipes online!) or moon sand (using flour/cornstarch and oil) in airtight containers. Add themed accessories: for a dinosaur kit, include small plastic dinosaurs, rocks, and faux leaves; for a baking kit, add mini cookie cutters, a small rolling pin, and colourful beads (“sprinkles”); for an ocean kit, use blue dough, seashells, and small sea creatures. Present it all in a compartmentalized box or a decorated tub for easy storage and hours of imaginative play.
Custom Creature Hand Puppets
Puppets unlock storytelling and imaginative play. Forget store-bought characters; design unique creatures based on the child’s imagination or favourite animals.
Crafting Your Characters
Use felt, old socks, or even paper bags as your base. Felt is versatile – cut simple shapes, stitch or glue them together, and add details like button eyes, yarn hair, or fabric scraps for clothes. Sock puppets are classic and quick. Encourage silly voices and stories! Consider making a set of characters that can interact, perhaps presented in a shoebox “theatre.”
Upcycled Masterpiece: Painted Rocks & Photo Holders
This simple craft transforms ordinary objects into charming keepsakes. It’s budget-friendly, eco-conscious, and perfect for involving little hands in the creation process.
From Pebbles to Presents
Collect smooth, flat rocks. Wash and dry them thoroughly. Use non-toxic acrylic paints to create designs – ladybugs, monsters, favourite characters, abstract patterns, or even letters spelling the child’s name. Seal with a clear sealant (like Mod Podge) once dry. For photo holders, find slightly larger, stable rocks. Glue a piece of craft wire, coiled at the top to hold a photo, securely to the back or top of the painted rock. These make lovely decorations for a desk or shelf.
The “Build-Your-Own” Fort Kit
Fuel endless adventures with a curated kit containing everything needed to construct magnificent indoor forts. This encourages problem-solving, teamwork, and imaginative play.
Assembling the Adventure Kit
Find a sturdy box, laundry basket, or canvas bag. Fill it with lightweight fabrics or old sheets, clothespins or clamps for securing, lengths of rope or string, perhaps some battery-operated fairy lights for ambiance, and maybe even a “Keep Out” sign they can decorate. Include simple instructions or diagrams for inspiration. This gift provides hours of fun and can be easily stored away.
Customized Decor: Planters & Terrariums
Bring a touch of nature indoors with a personalized planter or a mini terrarium. This gift can also gently introduce children to the responsibility of caring for a living thing.
Green-Thumb Gifting
Decorate a simple terracotta pot using paints, markers, or even decoupage with colourful paper or fabric scraps. Let the child paint their own design for a truly personal touch. For a terrarium, use a clean glass jar. Layer pebbles (for drainage), activated charcoal (optional, keeps it fresh), potting soil, and small, moisture-loving plants like mosses, small ferns, or succulents (choose appropriate plants for open or closed terrariums). Add small figurines like animals or fairies for a whimsical touch.
Hand-Stamped Fabric Creations (Tote Bags, Tea Towels)
Personalize practical items like canvas tote bags or plain cotton tea towels using simple stamping techniques. These make useful and unique gifts.
Stamping Your Style
You can carve simple shapes into potatoes or craft foam to use as stamps, or purchase pre-made craft stamps. Use fabric paint applied evenly to the stamp. Practice on scrap fabric first. Create patterns, spell out a name, or make a border design. Heat-set the paint according to the manufacturer’s instructions (usually by ironing) to make it washable. A personalized library tote bag or a set of kitchen towels decorated by a little artist is always appreciated.
Cozy Creations: No-Sew Fleece Blankets or Scarves
Even without sewing skills, you can create warm and cuddly gifts using fleece fabric, which doesn’t fray when cut.
Simple Snuggles
For a blanket, you’ll need two coordinating pieces of fleece fabric (same size). Lay them flat, one on top of the other. Cut out a square from each corner (about 4-5 inches). Then, cut fringe along all four sides, about 1 inch wide and 4-5 inches deep, cutting through both layers simultaneously. Tie the corresponding top and bottom fringe pieces together with double knots. For a scarf, simply cut a long rectangle of fleece to the desired size and fringe the short ends.
Delightful Bath Time: Homemade Bath Bombs or Tub Tea
Make bath time extra special with fragrant, fizzy bath bombs or soothing herbal tub teas. These are surprisingly easy to make and feel luxurious.
Spa Science Fun
Bath bomb recipes typically involve baking soda, citric acid, Epsom salts, cornstarch, a bit of oil (like coconut or almond), essential oils for scent (use kid-safe ones), and optional colourants (mica powder or food colouring). Mix dry ingredients, slowly incorporate wet ingredients, press firmly into moulds (muffin tins or special bath bomb moulds work), and let dry completely. For tub tea, mix dried herbs like lavender, chamomile, oats, and Epsom salts, then portion into small muslin bags or squares of cheesecloth tied with string.
Recycled Crayons: Shape Shifters
Give broken, stubby crayons a new lease on life by melting them down into fun, new shapes! This is a great recycling project and results in unique colouring tools.
Melting Magic
Preheat your oven to a low temperature (around 230°F or 110°C). Peel the paper off old crayons and break them into small pieces. Place the pieces into silicone moulds – muffin tins, candy moulds, or fun shapes like dinosaurs, stars, or letters work well. You can mix colours within each mould for a marbled effect. Bake for 10-20 minutes, or until the wax is fully melted. Let cool completely (you can speed this up in the freezer) before popping the new crayons out of the moulds. Package them in a small bag or box.
People Also Ask (FAQs)
Q1: Are handmade gifts really cheaper?
A: Often, yes, especially if you use materials you already have or can source affordably (like recycled jars, fabric scraps, or basic craft supplies). However, some crafts might require specific tools or more expensive materials (like specialized yarn or woodworking tools). The main “cost” is often your time, but the value added is immense.
Q2: What are good handmade gifts for toddlers?
A: Focus on safety, sensory exploration, and durability. Ideas include: homemade playdough kits (ensure non-toxic ingredients), sensory bottles (securely sealed!), simple felt shapes or animals, painted wooden blocks, soft fabric blocks, or a personalized board book with photos. Avoid small parts that could be choking hazards.
Q3: How can I make a handmade gift look polished and professional?
A: Pay attention to finishing touches. Sand rough edges on wood, trim threads neatly on fabric items, use clear sealant on painted objects, and focus on neat packaging. A simple ribbon, a nicely printed tag, or presenting the gift in a decorated box can elevate its presentation significantly.
Q4: Can kids help make these gifts?
A: Absolutely! Many of these ideas are perfect for involving children. They can help mix playdough, paint rocks or pots, choose fabrics, stuff puppets, place crayon pieces in moulds, or arrange items in a kit. Supervise appropriately based on age and the task involved (e.g., adults handle hot ovens or sharp tools). Making gifts together teaches valuable skills and the joy of giving.
Q5: What if I’m not very “crafty”?
A: Don’t be intimidated! Start simple. Many ideas require minimal artistic skill – think stamping, assembling kits, or no-sew options. Focus on the thought and personalization. Remember, the charm of a handmade gift often lies in its imperfections and the clear evidence that it was made with care, not by a machine.
Conclusion: The Enduring Charm of the Handmade Heart
In our fast-paced, digital world, the act of creating and giving something handmade offers a refreshing pause, a connection to something tangible and real. These ten ideas are just starting points; the possibilities are as limitless as your imagination and the child’s interests.
Choosing to make a gift for a child is an investment – an investment of time, creativity, and love. It results in a present that’s not just an object, but a memory in the making, a symbol of care that stands out from the crowd. Whether it’s a perfectly imperfect painted rock, a cuddly no-sew blanket, or a storybook starring the recipient, a handmade gift carries a unique magic. So, embrace the joy of creation, and give a gift that truly comes from the heart – you might just find the process as rewarding as the delighted smile on the child’s face.
Read More: Learn How To Make Ice Cream With Kitchenaid


Leave a Reply