
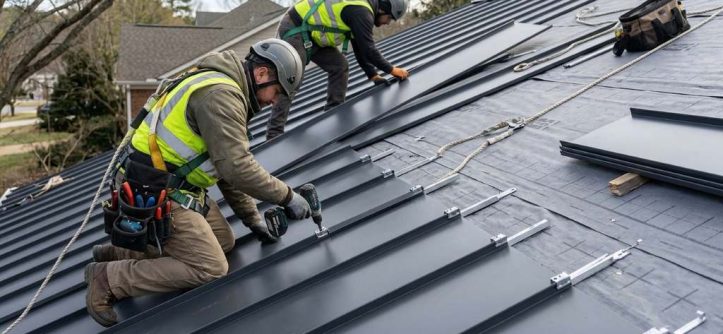
Standing seam metal roof installation takes six steps: deck prep, underlayment, flashing, clips, panels, and trim. Most homes take three to seven working days from start to finish. Hire a certified crew, since small errors cause expensive leaks later. That timeline grows with tear-off, complex shapes, or bad weather.
Skipping steps or rushing details can ruin even premium metal and quietly void warranties. This guide walks through each stage in plain language, from the first inspection to the final trim. You will also learn when DIY makes sense and which costly mistakes to dodge.
Before the Crew Arrives
Preparation sets the tone for the whole project. Inspectors check the deck for rot, soft spots, and loose boards. They also confirm the roof’s measurements and slope.
Precise planning, including measuring panel runs, prevents shortages and waste. Crews then order panels cut to exact lengths. Late changes cost time and money.
Permits come next. Most cities require one for reroofing. Your contractor should file it and schedule any inspections.
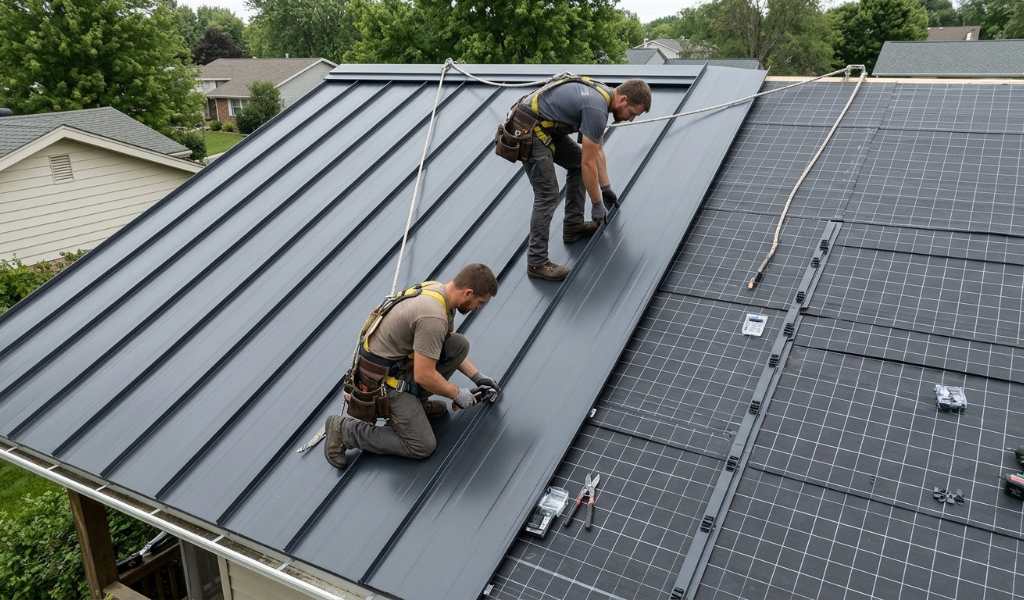
Underlayment, Drip Edge, and Flashing First
Many pros strip old shingles for a clean deck. Roofing over shingles saves labor, but it can trap moisture. Local codes also limit the number of layers.
Next, the crew rolls out high-temperature underlayment. Metal gets hot, so cheap felt breaks down quickly. Synthetic or peel-and-stick membranes last much longer.
Drip edge and flashing follow before any panel goes up. Valleys, vents, and chimneys need custom pieces. These details decide whether the roof stays dry for decades.
Laying Out and Locking the Metal
Setting the First Panel
Installers snap a chalk line and set the starter panel with care. A crooked start grows worse across the whole roof. They check it against the eave and the ridge.
Clips and Seams
A standing seam metal roof depends on correct clip spacing for wind resistance. Hidden clips anchor each panel to the deck. They also let the metal expand and shrink without tearing.
Each new panel then locks into the previous one. Snap-lock panels press together by hand, while mechanical lock panels need a seaming tool. Either way, the crew checks alignment every few feet.
The panels being installed arrive factory-formed or rolled on site. Both methods work well when the crew follows the manufacturer’s spacing rules. Therefore, always ask which method your contractor uses.
Finishing Details
Ridge caps, valley trim, and rake pieces come next. Crews also add snow guards where falling snow could hurt someone. Matching sealants close every small gap.
Penetrations need special attention. Pipe boots, vents, and skylights use custom flashing. Most leaks start here, not along the panels.
A final walkthrough checks seams, fasteners, and trim. Magnet sweeps pick up stray screws and metal shavings. Those shavings can rust and stain the finish.
How Long It Takes
Roof size and shape set the schedule. Use these ranges as a rough guide:
- Simple gable roof: Three to four working days.
- Average home: Four to seven working days.
- Complex roof with many valleys: Seven to ten working days.
- Tear-off: Adds one to two days.
Weather slows work, since crews avoid wet or windy days. Ask for a written schedule and a backup plan. Labor makes up a large share of the total, which a full cost breakdown explains.
DIY or Hire a Pro?
Skilled homeowners sometimes tackle small sheds or carports. A full house demands special tools and precise layout. Mistakes also hurt warranties.
Use this quick rule to decide:
- Choose DIY: Small outbuildings, simple slopes, and strong roofing experience.
- Hire a pro: Full homes, steep pitches, complex valleys, or warranty requirements.
Many manufacturers require certified installers for their longest warranties. Ask before you buy any material.
Mistakes Installers Make
Most failures trace back to a few repeat errors. Watch for these:
- Pinning panels too tightly: This blocks thermal movement and causes buckling.
- Using cheap underlayment: Hot metal destroys it quickly.
- Ignoring clip spacing: Wind can lift panels in storms.
- Rushing flashing: Leaks appear around vents and chimneys.
- Skipping the final sweep: Metal shavings rust and stain the finish.
Ask your roofer how they prevent each one. A confident answer shows real experience. Vague replies signal trouble.
Ready to Plan Your Project?
Good work follows a clear sequence. Start by verifying your contractor’s certification and insurance. Then request a written schedule and put every detail in the contract.
Call two or three certified crews this week. Compare their plans, not only their prices. Pick the team that explains each step clearly.
Frequently Asked Questions
How long does a metal roof installation take?
An average home usually takes three to seven working days.
Can I install it over old shingles?
Sometimes, but most pros prefer to tear the shingles off first.
What roof pitch do I need?
Snap-lock systems usually need at least 3:12, while mechanical lock systems handle lower slopes.
Do I need a permit?
Most cities require a permit for reroofing.
Can I install it myself?
Small sheds are possible, but full homes call for a certified pro.


Leave a Reply